After working with plenty of CrossFit® athletes, I’ve seen it all. And while lots of people are plenty strong, many are lacking in their overall mobility.
Improving your WODs can oftentimes be a matter of working on your flexibility more often, rather than ramping up the strength and conditioning work.
If you’ve tried static stretching, or complicated drills but fail to achieve the mobility that allows you to excel with your training, we get it. In this article, we’ll show you exactly how to improve mobility in your upper and lower body.
Contents: Why Mobility Matters / How Mobility Limitations Hold You Back / Addressing The Lower Body / Addressing The Upper Body / Another Way To Think About Progress / How To Fix Weakpoints
Why Mobility is so Important, but Often Overlooked
You’re hitting your CrossFit® WODs almost every day but you’re not making the progress you want. You put in more and more effort, but you’re not hitting your goals. What’s going on?
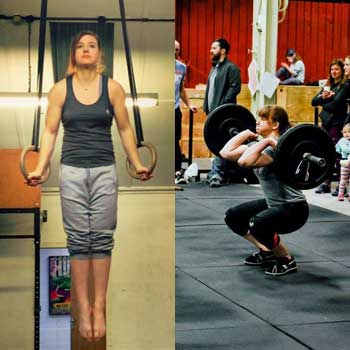
Written in cooperation with our staffers, Verity (CF-L1, CF-Gymnastics, GMB Trainer) and Sara (CF-L1)
If you’re anything like the thousands of recreational and high-level athletes I’ve treated in my 18 years as an orthopedic physical therapist, there’s a very good chance that mobility restrictions are the biggest factor keeping you from your goals. And fixing those restrictions will unblock your power and keep you from getting hurt.
Most people can’t use their joints’ full range of motion, and don’t have very good joint stability. That’s okay – it’s part of modern life.
But if you want to excel in a high-performance sport like CrossFit, you need to fix your mobility restrictions. As you do you’ll see serious improvements in your training, including better PRs, easier reps, and fuller recovery. Like GMB client Tomomi:

Read on to learn how to loosen up your hips, back, and shoulders for better CrossFit performance.
How Mobility Restrictions Are Holding You Back
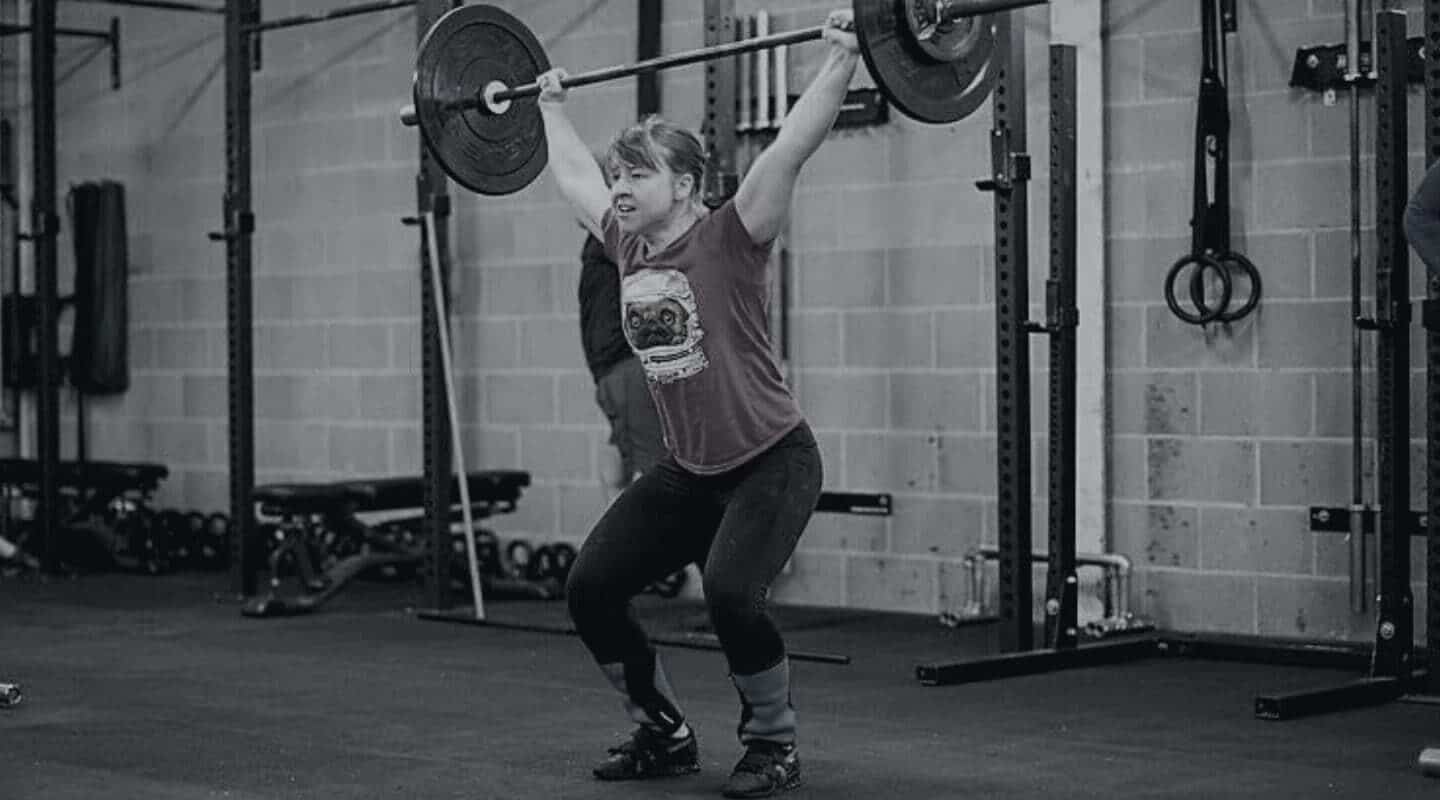
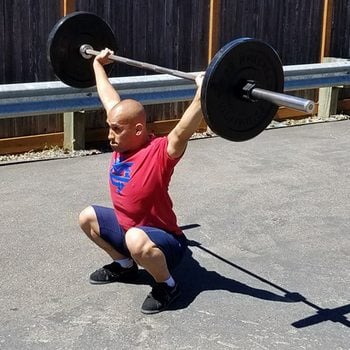
As you know, many of the exercises taught in a CrossFit practice involve a high level of joint mobility and stability throughout the body. Take this overhead barbell squat, as an example:
Her ankle mobility in this position is great. It allows her to counterbalance the bar by keeping her center of gravity forward. She can also sit her hips under the bar for maximal force production in rising from the bottom. Her hips and shoulders are moving well, so she can perform these movements with excellent technique.
Now, most people don’t have that kind of mobility, and you probably don’t either. That’s okay.
Still, it’s important to recognize where your mobility is holding you back, so that you can address your issues head on.
Limited mobility can have a negative impact on your CrossFit performance in several ways.
- You lose power by performing movements with less-than-optimal mechanics.
- When you expend more energy in your movements than you otherwise would, it slows down your WOD progress.
- When you can’t get your body into the optimal position for a particular movement, it makes the exercise much harder. For instance, in the shoulder press, if the weight is further forward than it should be because your upper back and shoulders are slumped and rounded, it’s harder to push up.
Let’s take a look at the most common trouble areas so you can see how exactly these restrictions are holding you back.
Tight Hips are Holding You Back in Squats and Lunges
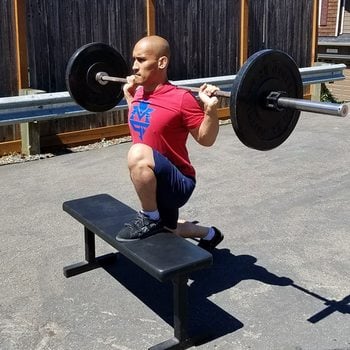
With sufficient hip mobility, you should be able to stay fully upright while doing elevated lunges.
Limited hip joint flexion is a common issue with squats, jumps, or lunges (of any kind). This is the ability to bring your knees to your chest with your back upright.
When you have restrictions in this movement, it can cause you to compensate by leaning your torso forward as you bend down, which also impinges your ability to generate power from the hips.
By improving your hip mobility, you’ll be able to sit up straighter in these movements. This will improve your leverage, particularly for front and overhead squats.
The areas you’ll most benefit from addressing are your external rotators, hip flexors, and abductors.
Here are 5 movements we recommend for opening up your lower body:
Frog Stretch
This stretch is great for opening up the adductors and hip flexors. Take it slow, and ease into the stretch.
- Begin on your hands and knees, spreading your knees apart as far as you can comfortably.
- In that position, rock back and forth slowly and with control.
- Keep your toes pointed outward and the balls of your feet on the ground.
Squeeze the knees together as you rock backward, and then relax as you move your body forward. After 2-3 reps, you can sit back into the stretch for 30-60 seconds.
Pigeon stretch
This stretch will open up your glutes, hips, hamstrings, and lower back.
- With your front knee bent to a 90-degree angle, you can keep your back knee bent or extended (like Eduardo is doing). Pick the position that is most comfortable for you.
- Rock back and forth to deepen the hip stretch, keeping your chest up.
Spend 30-60 seconds on each stretch and repeat twice for each side.
Lunge Rotations With Kneeling Hamstring Stretch
This dynamic movement will help you open up your hips, hamstrings, and quads.
- Rock forward in the lunge position, and then rotate your body to the side of your forward leg.
- As you rotate, you’ll feel your hip flexor open up with each rep.
- Rock back to your starting position and then point your toe upward, leaning into a hamstring stretch.
Do 10 reps for 2-3 sets each side.
Foot Circles with Toes Flexed (Curled)
Curl your toes gently, otherwise your foot might cramp. 😬
- Slowly and with control, make circles with your foot in one direction, and then switch directions.
- Take mini-breaks of 10-20 seconds between switching directions to prevent cramps
Do 10-15 reps in each direction for 2-3 sets per foot.
Calf Raises
For this movement, you can do them with your feet on a step or flat on the ground like Eduardo is doing.
- If you try this on a step, lower yourself down toward the ground until you feel a stretch, then press through the balls of your feet, lifting the heel up. Always do it with control – no bouncing.
- If you do these from the ground, focus on lifting the heels up as far as you can and then lowering back to the ground slowly.
- Try this with straight legs and with a slight bend in the knees.
Perform 8-12 reps for 3 sets.
Contents: Why Mobility Matters / How Mobility Limitations Hold You Back / Addressing The Lower Body / Addressing The Upper Body / Another Way To Think About Progress / How To Fix Weakpoints
Tight Shoulders are Holding You Back in the Overhead Squat
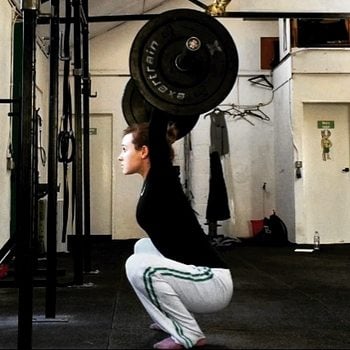
See how GMB Trainer Verity Bradford (CrossFit Level 1 Trainer and CrossFit Gymnastics Level 1 Trainer) has the shoulder mobility to lower down into a loaded overhead squat while maintaining a straight back.
The shoulders obviously play a huge role in many of the lifts practiced in CrossFit, specifically the overhead squat, snatch, clean and jerk, and others.
If your shoulders aren’t mobile enough to get into the positions you need them to for these lifts, you’ll be compensating and reducing your efficiency a lot. This both increases your chance of strains, and reduces your performance.
For instance, in the overhead squat, if you don’t have sufficient shoulder mobility, there will be added strain and stress on the shoulder joints. And you’ll be working that much harder in the movement, wasting precious energy that could be better used for more reps and faster times.
By addressing your shoulder mobility, you’ll not only be safer, but you’ll also be able to go further with the exercise.
Here are 5 movements you can use to open up your back, shoulders, and wrists:
Backward Facing Wrist Flexor Stretch
This is a good movement to start with because it helps loosen up tight wrists and forearms that can get stiff from long days sitting at the computer or if you use your hands a lot for your day job.
- Start with your fingers closer to your knees (it’s easier to start here than with them further away).
- With your palms flat on the floor, rock your body back toward your heels, then forward until you feel a slight stretch in your wrists/forearms.
- Repeat 10-30 times.
If you can’t rotate your wrists all the way around, try doing one hand at a time. You can also just work at whatever level you’re capable of, moving gently and carefully.
Quadruped Shoulder Circles
These are great for opening up the shoulders and encourages some upper back activation, which is necessary for any overhead movements.
- Start with your knees just beneath your hips and your hands just beneath your shoulders.
- Press your hands into the ground with your elbows straight and shrug your shoulders up toward your ears, back toward your hips, down away from your ears, and then forward toward your head, creating a circle.
- Make these circles in both directions.
Do 5 circles in one direction, and then reverse the direction for another 5 circles.
Tall Kneeling Arm Raises
This movement will engage your hips along with opening up your tight shoulders
- Begin in a kneeling position with your feet under your butt.
- Sit up and extend your hips as you raise your arms overhead.
- At the top of the position, you will end with your arms straight up. Be sure to open up the shoulders in that final position, paying attention to not arch your back.
Go through this stretch 5 times and hold for 15-30 seconds on the final stretch.
Clasped Hands Extension
This stretch is great for opening up your shoulders and work against that rounded posture we get into from lots of sitting and pressing.
- Start in a seated position. In the video, you’ll see that Eduardo is kneeling with his butt on his calves, but sit however feels comfortable for you. You can sit in a chair or a bench, as long as it doesn’t have a back.
- Clasp your hands behind your back with your elbows straightened. Sit up tall as you pull your arms back away from your body. Try to squeeze your shoulder blades together as you get into the stretch.
Do 5 rounds of the stretch, then hold the final stretch for 15-30 seconds.
Quadruped Torso Rotation
Rotation of the spine is a limitation for many, so this movement will help you open up your back and improve your thoracic mobility.
- Start with your knees beneath your hips, and your hands and elbows directly under your shoulders.
- Next, move one arm so that it’s below the midline of your chest and put your opposite hand on your lower back.
- Now rotate your body toward that elbow and try to look up toward the ceiling as you rotate. Use your other hand to keep your body stable as you do this stretch.
Do this stretch 10 times, holding for 30-60 seconds on the last rep, and then switch to the opposite side. Repeat 3 times for each side.
Contents: Why Mobility Matters / How Mobility Limitations Hold You Back / Addressing The Lower Body / Addressing The Upper Body / Another Way To Think About Progress / How To Fix Weakpoints
It’s Not Only About the Reps – Another Way to Make Progress With Your CrossFit Training
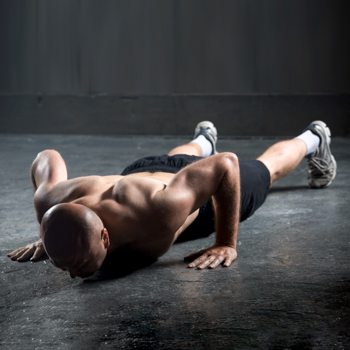 There’s no question that seeing your total reps increasing is one of the simplest ways to know that you’re making progress. But it’s not necessarily the best way.
And that “progress” is often deceptive.
As we’ve touched on already, even if your mobility restrictions are holding you back, you can compensate with most movements so that you can hit the reps you want to.
But what good does that do?
You’re risking injury every time you do that, so “hitting” those reps doesn’t really mean much. You want to be able to keep making progress for the long run, not just for one workout at a time.
So how else can you measure your progress and make sure you’re continually moving forward?
The Quality and Ease Rating System
Before starting on a mobility program, it’s important to get a baseline rating so that you can re-test yourself every couple weeks and make sure you’re on the right track.
Choose two of the exercises you have the most difficulty with due to limited mobility. For this example we’ll use the overhead squat and front squat. Then use the following scale to measure your quality and ease with both exercises.
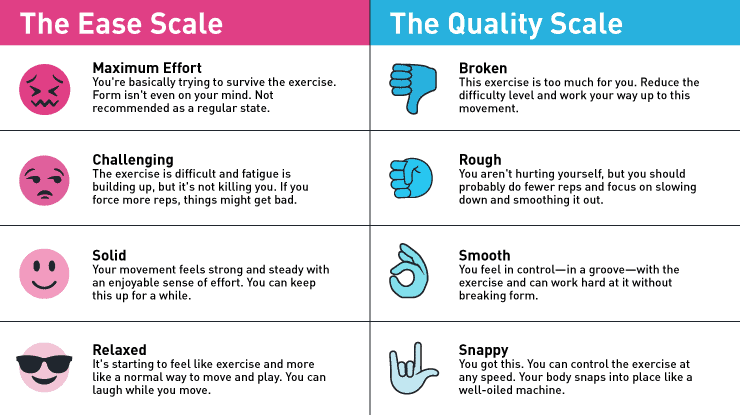
Let’s say your baseline measurements are:
- Overhead Squat – Broken (Quality) and Challenging (Ease)
- Front Squat – Rough (Quality) and Max Effort (Ease)
Ideally, you want your Quality measurement to stay within the “Smooth” or “Snappy” levels, and your Ease measurements to stay somewhere in the “Challenging” or “Solid” levels. So both these movements could use some work.
Applying the Rating System to Your Mobility Progress
 Once you’ve got your baseline ratings, you can address your needs head-on.
Let’s say the quality of your overhead squat is being affected by limited shoulder mobility. We’ve already covered some resources you can use to improve your shoulder mobility, so for example, if you go through our free Shoulder Mobility Routine, you’ll start with two weeks of the exercises included in there.
After two weeks, you’ll go through the assessment again, and rate your Quality and Ease measurements. This time your ratings are Rough (Quality) and Challenging (Ease).
The change isn’t dramatic–you wouldn’t expect it to be in just two weeks–but as long as your Quality rating is moving in the right direction and your Ease rating is staying in the right range, you know the routine you’re following is working.
Over time, if you’re consistent with what’s working, you’ll be able to get your Quality rating to Smooth or Snappy, with your Ease rating staying in the Challenging or Solid range.
Address Your Needs Head-On (and Stop Spinning Your Wheels)
 The way most people approach mobility is by doing some random stretches or following a cookie-cutter routine that doesn’t actually address what’s really going on in their bodies.
Rather than spending a lot of time – time you probably don’t have – on doing superfluous stretching or mobility work, you’ll get much farther by targeting your stretching to your specific restrictions.
This will cascade to improved positioning in your exercises, which will help your whole body move and perform better.
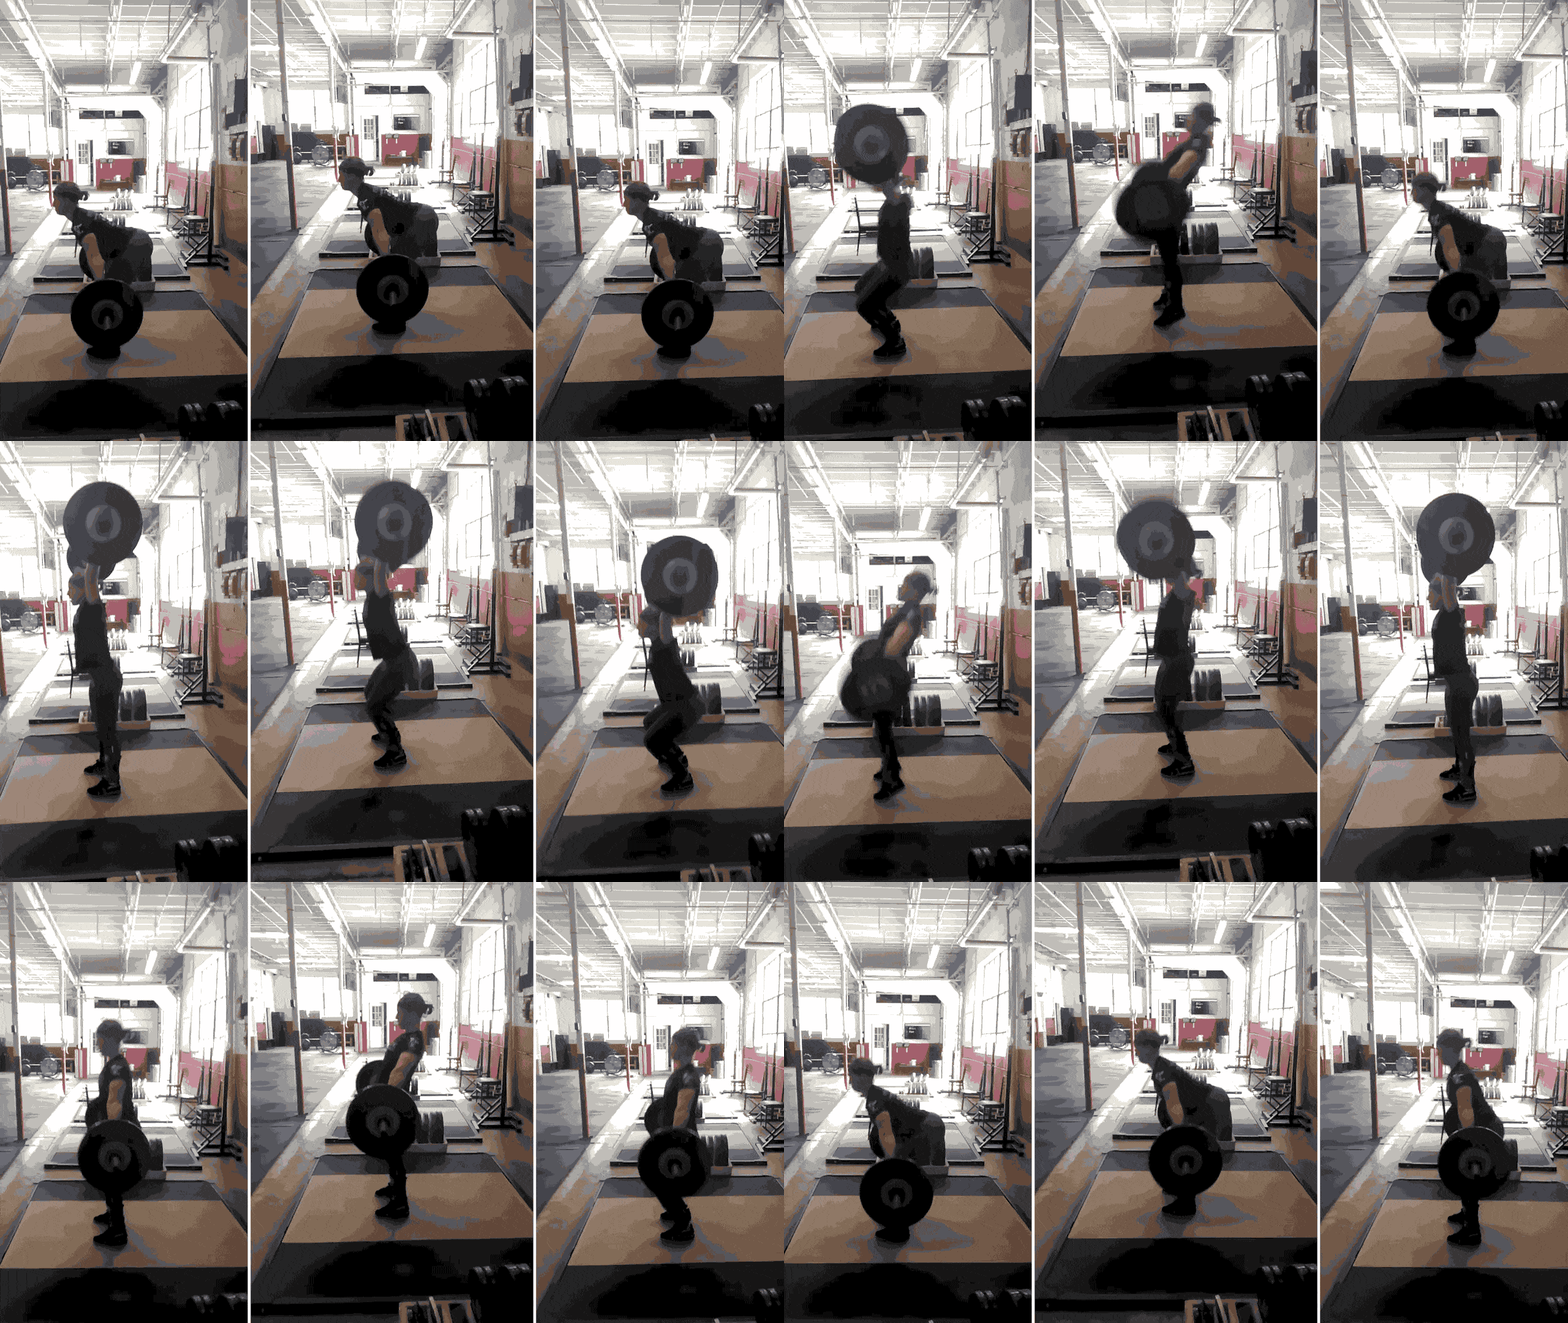
Look how Sara uses the Prone Scaption Rotation stretch to directly address the flexibility she needs in her shoulders for her snatch performance:

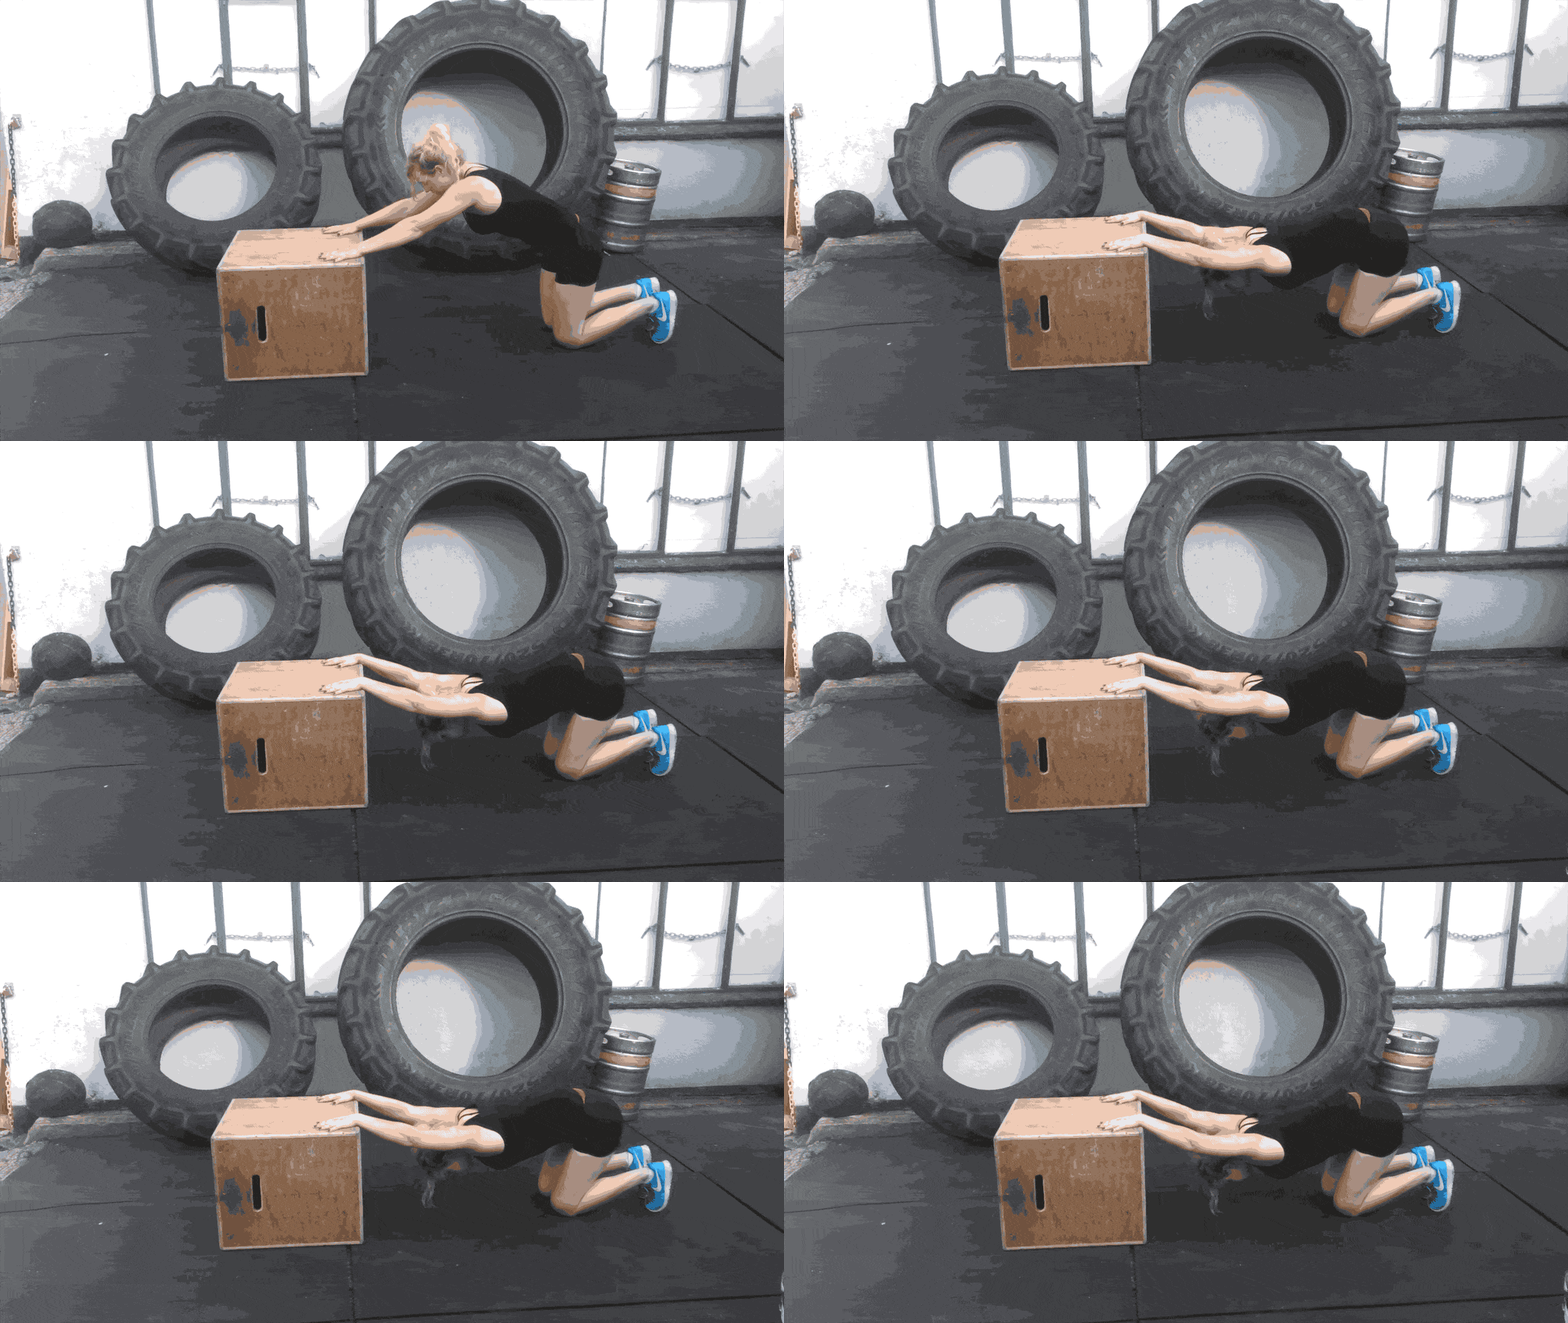
And here you can see how Verity uses the Upper Thoracic Extension stretch to help her with her thrusters:
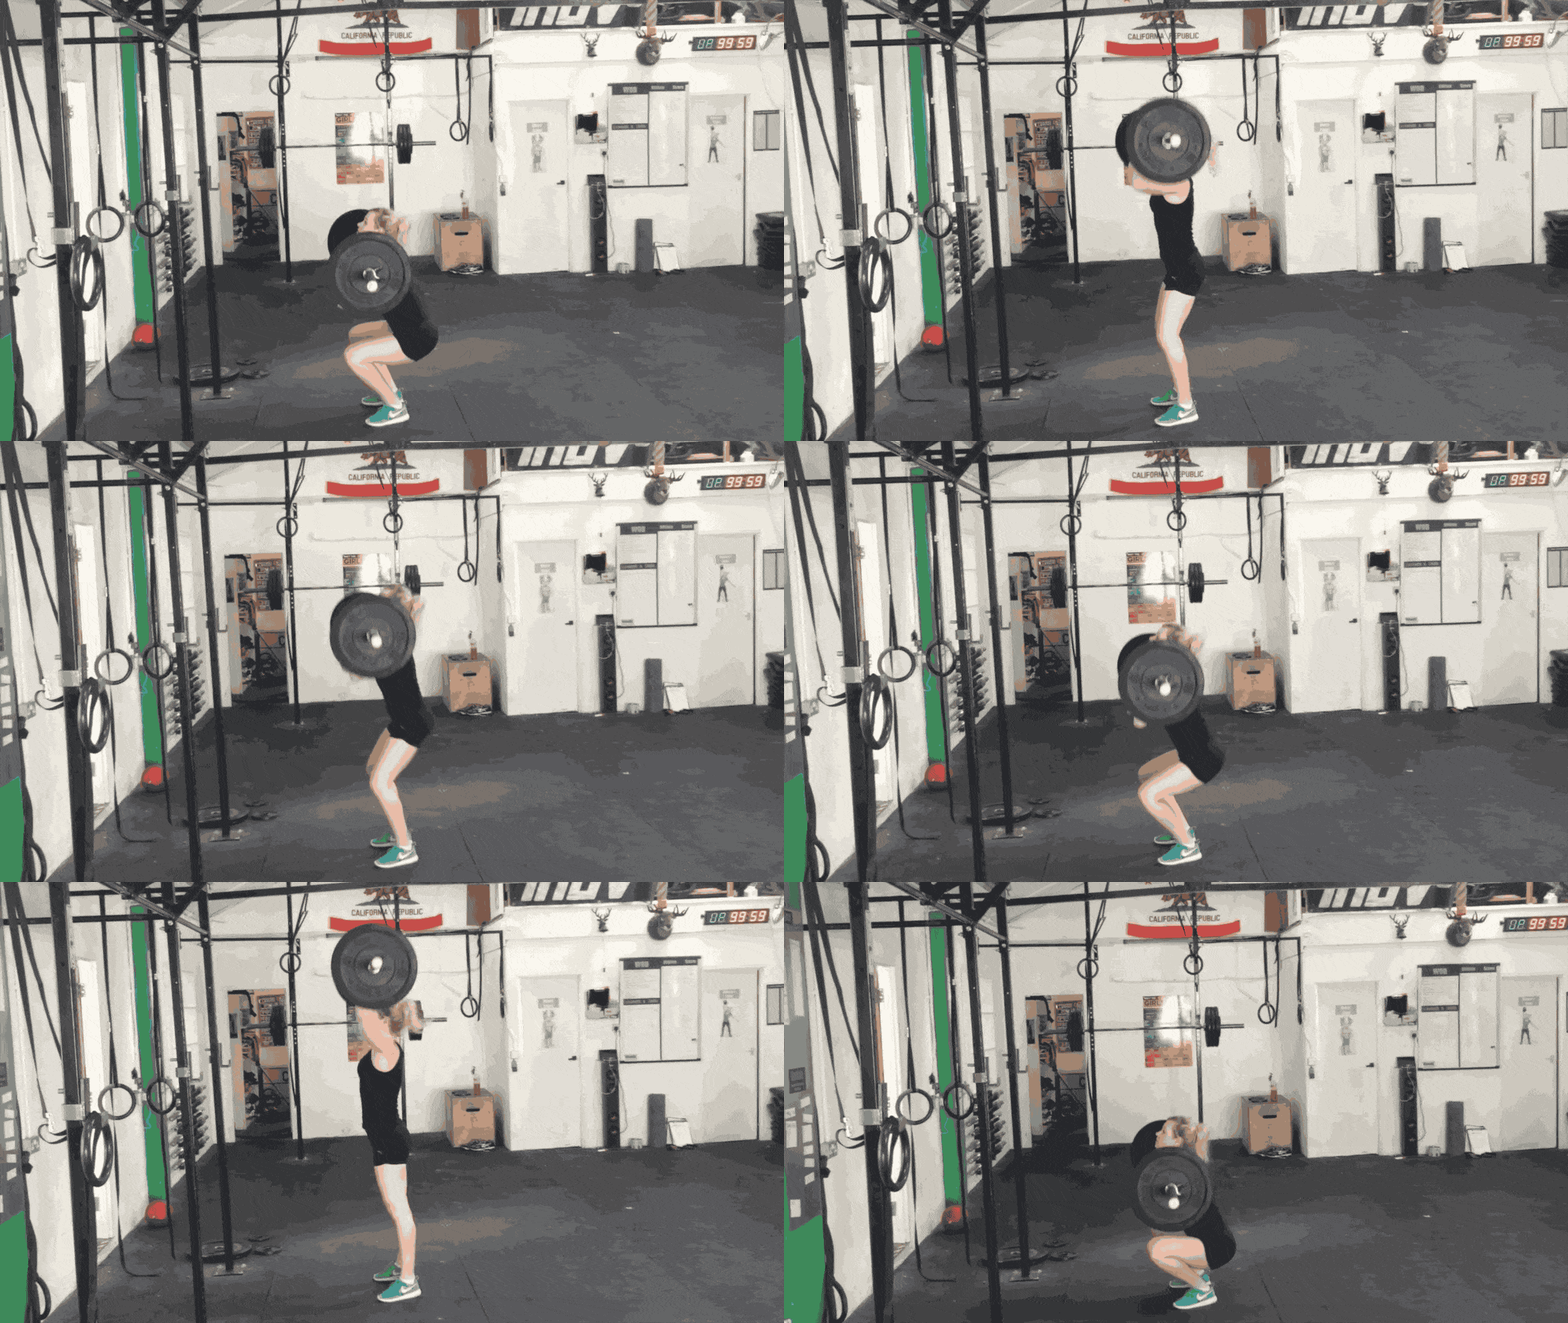
Many mobility programs also recommend long hold times for stretches, which is fine for particular goals, but it should always include active muscle contractions of the stretched muscle in the specific positions you’re looking to improve.
This translates into greater retention and usability of your flexibility gains in your actual movement patterns.
Build Flexibility That Actually Helps You Move
GMB Mobility is a guided program that improves your total body mobility.
You’ll resolve restrictions so you can finally move and perform your best.
