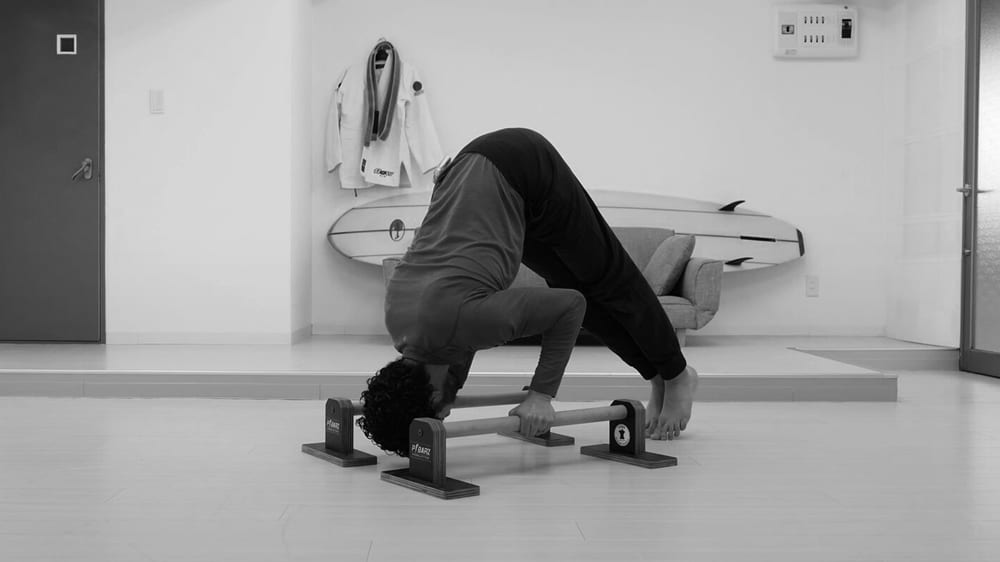
 The parallettes (aka “p-bars”) are one of our favorite tools for building strength and control throughout your body, helping you work your way to some pretty cool skills.
In chapters one and two of this guide, you got an overview of how to set up your p-bars, how parallettes can be especially helpful if you’re new to bodyweight training, the benefits of training with parallettes, and how to overcome challenges.
Now, we’re going to give you a full routine that includes everything you need to dive in to training with the parallettes. Ready?
How This Parallettes Training Routine is Structured (and Why)
Most workout routines (of any kind) follow a pretty standard structure, similar to those essays you used to write in middle school:
- Intro (a warm-up comprised of some random movements to get your heart rate pumping)
- Body (the main exercises of the routine)
- Conclusion (a cool down of some cookie cutter stretches)
As you got older and started having to write more complex ideas in varied contexts, it probably became clear that following that same structure wasn’t going to cut it. Sure, it worked in middle school, and it works in some limited situations, but it’s far too limiting to get everything you want to get from a piece of writing.
(If you don’t write, just bear with me on this analogy).
We looked at that standard workout routine that is done over and over again, in thousands of training programs, and we realized it just wasn’t going to cut it for making the kind of progress we want our clients (and ourselves) to make with a training program.
So, we put together a better structure, which is incorporated into all of our training programs, and the routine below follows this structure too.

- We start by Preparing our bodies for the work ahead, with movements that are specific to our goals with that day’s work.
- Then we Practice the skills we’re focusing on that day.
- After practicing those movements, we take some time to Play and explore with them, helping to make those movements feel like our own.
- Then we Push ourselves further with those movements, really challenging ourselves to get the most out of them.
- Finally, we Ponder about how the session went, which helps inform our next session.
The routine below follows this structure, and will help you get so much more from your training session. I think you’ll enjoy it!
The 5P Parallettes Workout Routine
In the following video, I’ll walk you through the full parallettes routine, working our way through the 5Ps. Scroll down below the video for written instructions on each part of this routine.
Let’s look at the exercises included in this routine:
Prepare
To get your body ready for the work you’ll be doing in this routine, we’ll focus primarily on preparing the wrists and shoulders with the following exercises:
- Wrists Forward–Lean your body forward and back, stretching the wrists as you move forward.
- Wrists Side-to-Side–Shift your body to the right, pressing in to the ground, then move over to the left.
- Back of Wrists–Place the backs of your hands on the ground with your fingers facing each other, and very carefully lean side-to-side. This can be an uncomfortable position for many people, so ease into it.
- Shoulder Shrugs–Face your p-bars, and press your hands into the parallettes as you round your upper back (pulling the shoulder blades away from each other), then drop the chest toward the p-bars (drawing the shoulder blades toward each other).
- Modified Prayer Pose to Upward Dog–Start in a modified prayer pose with your hands on the p-bars. Keep your arms straight as you shift your body forward into an upward dog position, then go back into prayer pose.
Work on each of these exercises for 10-30 seconds, depending on how you’re feeling.
Practice
For the practice portion, you’ll work on one straight arm skill and one bent arm skill.
- Straight Arm–For the straight arm skill, you’ll work on the handstand at whatever level you happen to be right now. So, if that means holding on to the p-bars with your feet on the ground, but shifting your wait forward, that’s totally fine. If it means working on your line on your full parallettes handstand, then that’s what you’ll do (and anything in between).
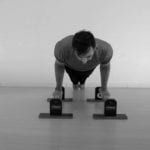
- Bent Arm–For this, you’ll work on a variation of the push-up that matches your current level. This can mean anything from working on parallettes push-ups from your knees, to side-to-side push-ups, and anything in between.
Spend a total of 10 minutes on the practice portion of the session (5 minutes for each exercise). Just set a timer for 5 minutes, and practice the handstand portion, taking as many breaks as needed. Then set the timer for another 5 minutes and do the same with the push-up portion.
Play
For the play portion of the session:
- Jump Throughs–Here, you’ll explore getting from the back of the p-bars to the front of the p-bars in different ways. Play around with finding different ways to move your feet under you to get from one position to the next.
Set a timer for 5 minutes, and just play around with this movement, resting as needed.
Push
With the push portion of your training session, it’s time to ramp things up and push yourself a little harder. But remember to focus on the quality of your movements more than anything.
Do the following exercises in a circuit, spending 30-45 seconds on each exercise before moving on to the next:
- Inverted Press–With your hands on the p-bars and your feet on the ground, lift your butt into the air so you’re in an A-Frame position. Then, keeping your elbows tucked in to your sides, bend your elbows to lower yourself toward the p-bars, and push back up.
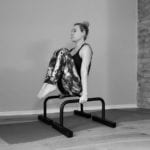
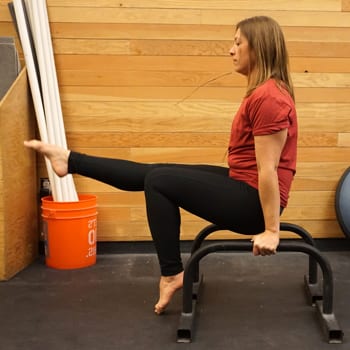
- L-Sit HoldFor this exercise, be sure to work at whatever level is appropriate for you. You can see our full L-Sit tutorial for help with figuring out which level you can do for the solid 30-45 seconds.
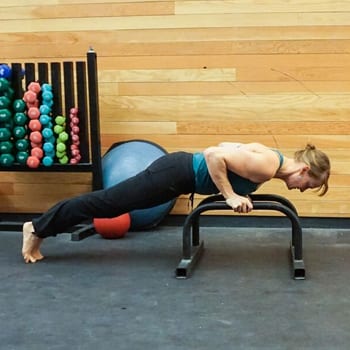
- Dip to Push-Up–Here, you’ll perform the dip at whatever level you can, then walk or jump your feet back into a plank position (or to your knees) and perform a push-up. Repeat this sequence as many times as you can with perfect form for 30-45 seconds.
- Plank Hold–Again, this hold can be any variation of the plank hold.
Do at least 2 rounds of this circuit. If you’re feeling good and like you want more of a workout, feel free to do more rounds.
Ponder
Finally, we’ll end off by taking some time to think about how today’s session went. Where did you run into challenges? What would you like to focus on next time? Where did you notice your form starting to break down?
Rather than just being an afterthought or an “optional” part of the session, this last portion is an integral part of getting the most out of your training. Taking a mindful approach to your training will help you figure out where you need the most work, how to make adjustments to work around limitations, and avoid injuries.
Take Your Parallettes Training Program Deeper
 In this routine, you worked on a combination of straight arm and bent arm skills–and it’s a good idea to practice both, as both kinds of pressing strength are important, not just for your training goals, but also for everyday life.
There might be times, though, when you want to spend dedicated time developing one type of pressing strength over the other. So, to help you do that, the next two chapters in this guide focus on bent arm pressing strength and straight arm pressing strength, respectively.
Dig deeper into both types of pressing strength, and you can build a routine that’s more specific to your goals, based around the formula we covered in this article.
