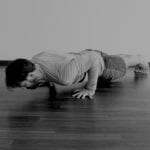
I know what you’re probably thinking. The crow pose is just for yogis, right? And it probably takes hours upon hours of practice to learn.
Nope and nope 🙂
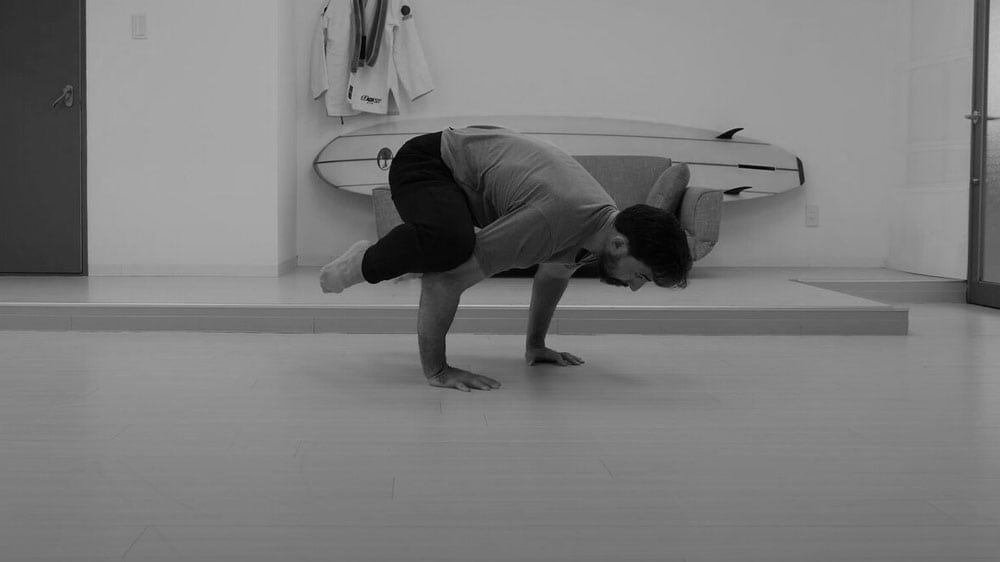
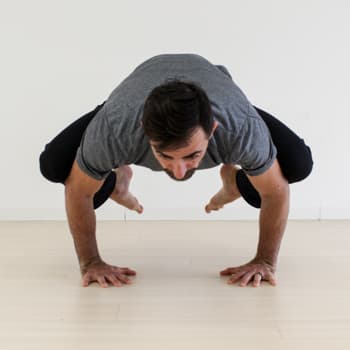 The crow (also known as frog stand) is a great bang-for-your-buck exercise that’ll help you strengthen your wrists and shoulders, improve overall body control and balance, and set you up for all sorts of cool (and useful!) skills down the line.
It’s not just for yogis, and most people are shocked at how quickly they can learn it.
So, in this tutorial, we’ll go over:
- Main benefits of this fun and challenging skill
- Step-by-step instructions to learn and get comfortable with the crow pose
- Practice recommendations
- Troubleshooting
- What skills come after the crow?
Our client Jovanni Bello from Miami, Florida told us this tutorial helped him go from no crow to a 30-second hold:
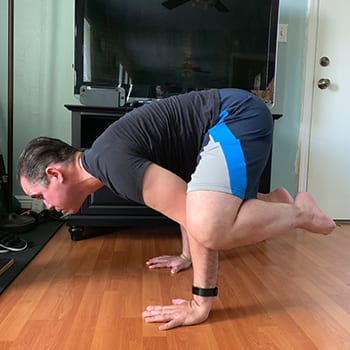
I’d tried the Crow Pose a number of times because it was part of another program I was working on with my wife. I could never get it; the program just assumed everyone could hop right into crow with no issues.
I’d given up.
The tutorial really helped by giving me, not only the process, but the safety net of details to help with what I was working with to the point where I could now hold the pose for 30 seconds.
Whether you’ve been working on nailing the handstand, or you’re looking to gain strength and control throughout your body for your other goals, the crow pose will give you tremendous benefit, while also helping you zero in on your weak areas.
Let’s do it!
Try a Free Bodyweight Workout
Learn proven exercises that have helped thousands of people get stronger and move better.
Why Learn the Crow Pose? 3 Main Benefits
If you’ve never tried to learn the crow pose, you may be wondering why you’d start now, especially when you’ve got lots of other training goals. But the crow pose is chock full of benefits, which is why I cover it at almost every GMB Seminar.
It’s not just a party trick you can whip out when the occasion strikes (though it’s great for that too). Here are the main benefits you’ll get from practicing this skill:
1. Builds Strong Wrists, Shoulders, and Core
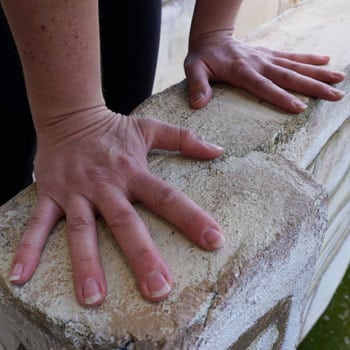 Very few people can just pop into a crow pose without any practice–don’t let that “new” guy in your yoga class fool you–so when you spend some time learning this skill, you’ll be gradually increasing your strength in these key areas.
Your wrists will start to get used to bearing your weight, your shoulders will become more stable as they support you more and more, and while the crow may not seem like a typical “core exercise,” it’s an integral part of keeping your body stable and balanced. (Our related article on core strength explains how this works in more detail).
Adding some crow practice in to your routine will help you improve strength in these areas over time.
2. Helps With Hand Balancing Skills
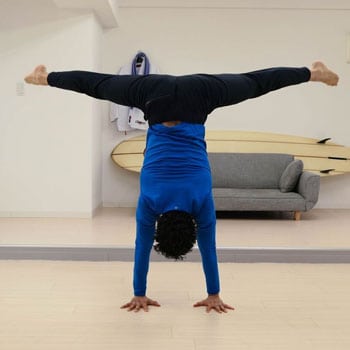 I think of the crow pose as a kind of gateway drug to the world of hand balancing. If you’ve never balanced on your hands before, finding that “zero point” in any hand balancing position can be addictive.
And the crow pose is a really good introduction to that. Plus, if you’re working on handstands or other hand balancing skills, you can use the crow pose to get your body comfortable with balancing on your hands in a more controlled setting.
As you get more comfortable with the crow, you’ll have lots of opportunities to play around with positioning and other factors that can help you improve your hand balancing skills.
3. Improves Body Control and Awareness
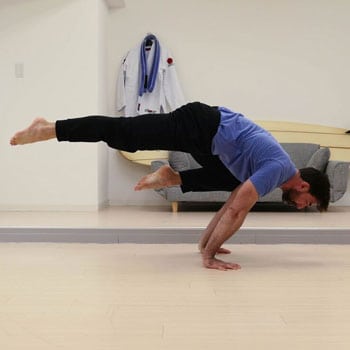 Any balancing exercise requires a tremendous amount of body awareness and understanding of where you are in space. The crow is no different.
As you practice the crow and get better with it, you’ll learn to pay attention to the small details that help you balance better–pointing your toes, gazing forward, using your fingers to shift your weight as needed.
This practice is a good way to almost “force” yourself into awareness and introspection.
You’ll also learn the importance of breathing evenly and steadily as you balance yourself. Learning to breathe properly is a skill you can apply to any exercise or activity, so spending time learning that with the crow will help you in the long run for any activity you love.
My favorite trick for breath control is simple: Smile! It’s pretty much impossible to hold your breath while you’re smiling, so that little trick will help keep your breath in check.
Zero to Crow: Step-by-Step Crow Pose Tutorial
All those benefits we just listed? You’ll only get them by learning proper crow technique, and by building your skills progressively. I’ll walk you through the process in this video:
Build a foundation for the crow pose with our free Strength and Mobility Kickstart. The course will introduce you to fundamental locomotive patterns, and is the perfect complement to a crow pose practice.
Let’s take a look at each step for learning the crow.
1. Make a Diamond with Your Hands
- Starting in a squat position, create a “diamond” with your hands, palms facing away from you.
- Separate your hands to about shoulder-width apart, then place them on the ground in front of you.
- Your hands should be angled inward since you set them up with that “diamond” shape, so that you can flare your elbows outward, creating a “shelf” for your knees.
2. Place Your Head on the Ground
- Once you’re in the position just described, you’ll lean forward, placing your knees just above your elbows.
- Continue leaning forward and place your head on the ground. Your feet should still be on the ground at this point.
- If you find it uncomfortable to place your forehead on the ground, feel free to put a folded towel or cushion on the ground to relieve the pressure from your head.
3. Point Your Toes
- With your head on the ground and your knees on your elbows, rather than pulling your feet off the ground, just focus on pointing the toes backward.
- Start by pointing the toes of one foot at a time. This will help you get comfortable in this position.
- Once you’re comfortable with that, point both feet at the same time, but leaving your head on the ground.
4. Look Up
- Now that you’re comfortable in this position, you can work on lifting the head off the ground. But rather than pulling it off the ground, just think about looking up slowly.
- As you get more comfortable, you’ll be able to look up more until your floating in the full crow position.
- Over time, you can work on lifting your chest and flattening out your back more.
Practice Recommendations
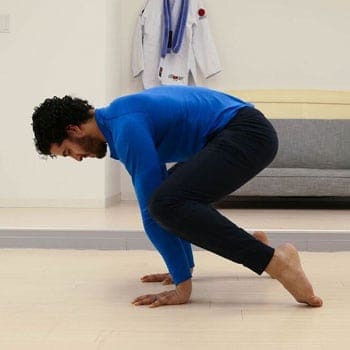 If you’ve never practiced the crow pose before, I recommend starting with the first step and going from there. Work on holding each step for a good amount of time (about a minute will suffice) before moving on to the next step.
Measure your work in two ways:
- Keep track of the amount of time you can hold each attempt to see your hold progress.
- Set a timer for a certain amount of time (e.g. 30 seconds) and practice as many attempts as you can until the timer goes off. When the timer goes off, take a break and then repeat again for additional sets, as tolerated.
When you first try this, you’ll either get the move right away or you’ll start to discover what is holding you back from achieving it.
If you need to add in supplemental exercises (recommended in the next section), do so before your main crow practice.
So, for example, if your wrists feel tight and uncomfortable when practicing the crow, spend a few minutes working on the those exercises, then start your crow practice.
Troubleshooting the Crow Pose
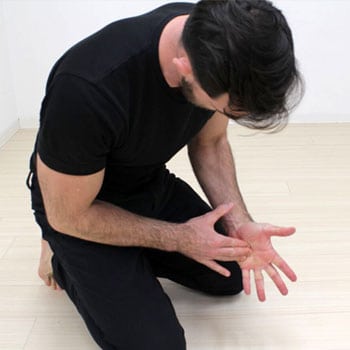 When you break the crow down into bite size steps like I showed you above, anyone can learn it (with some time and patience). But there are some common issues you might run into.
Tight or Achey Wrists
This is very common, especially if you’ve never done this sort of training before. The biggest key with this issue is to ease into things. Don’t jump in to putting full pressure through your hands–make sure you give yourself some time to adjust to this new stimulus.
You can also work on improving your wrist strength and flexibility with the exercises in our wrist guide.
Shoulder Weakness
If your shoulders are not quite strong enough to support your body in the crow, they will get stronger with crow practice, but you may also want to add in some extra pushing work.
Working on push-ups alongside your crow practice will help you build strong, capable shoulders.
Our full push-up tutorial will give you all the tools you need to improve your push-ups and make sure you’re practicing them with form that encourages strong shoulders and joints.
Trouble Balancing
This is another issue that usually stems from trying to rush things. If you’re toppling over right away or having trouble finding your balance point, you likely just need to slow down and spend some time just getting comfortable putting your weight through your hands before taking your feet off the ground.
And don’t forget! You don’t need to pull your feet off the ground, but rather, just point your toes back. It’ll help a lot!
If you’re still having trouble, try working on these balance exercises.
How the Crow Pose Will Help You With All Sorts of Other Skills
After you’ve got your crow pose down, you’re probably good and ready to move on to work on just about any skill you want. But here are some common next steps:
Exploring the Crow Further
Before jumping into advanced variations, there’s room for a lot more exploration of this great balancing exercise. Here’s just one example of how you can play with the crow:
This is a fun way to take your practice further, and get REALLY strong and stable in this position.
Crane Pose
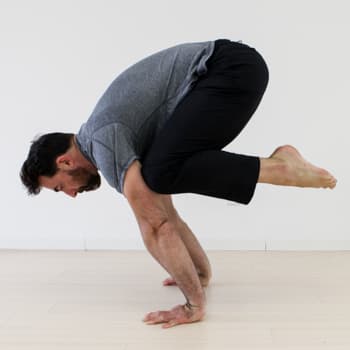 The crane is a lot like the crow, except your arms are straight. This puts a lot more pressure through the wrists, so it’s a good idea to get comfortable with the crow before moving on to the crane.
One thing I love about the crane pose is it helps you build strength and flexibility in your wrists and shoulders so that you can eventually work your way to planches if that’s a long-term goal of yours.
Click here for a video tutorial on the crane pose.
Handstands and Other Hand Balancing Exercises
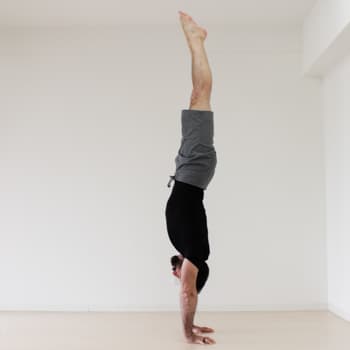 Of course, the crow is a great hand balancing exercise, so it makes sense a good next step would be to go deeper into that practice.
There are countless variations of handstands but start with the basics and don’t rush it.
Click here for our very detailed handstand tutorial.
Get Better at (Almost) Everything Through This Practice
As you can see, there’s a lot more to the crow pose than just being some fancy yoga move. Practicing this skill will help you:
- Make your wrists flexible and strong
- Build strength in your shoulders
- Gain better control and balance
- Improve body awareness and breath control
And getting better at those things will set you up for success with just about any skill you want to take on and put the work into.
One way to improve all the attributes of the crow pose, and then some, is through locomotive exercises, which help increase wrist mobility, shoulder strength, and balance. Our Elements program teaches fundamental locomotive patterns, and is the perfect complement to a crow pose practice.
Maintain a Strong Body
Elements will help build a foundation of strength, flexibility, and control. Along with a crow pose practice, it will prepare you for whatever comes your way.
