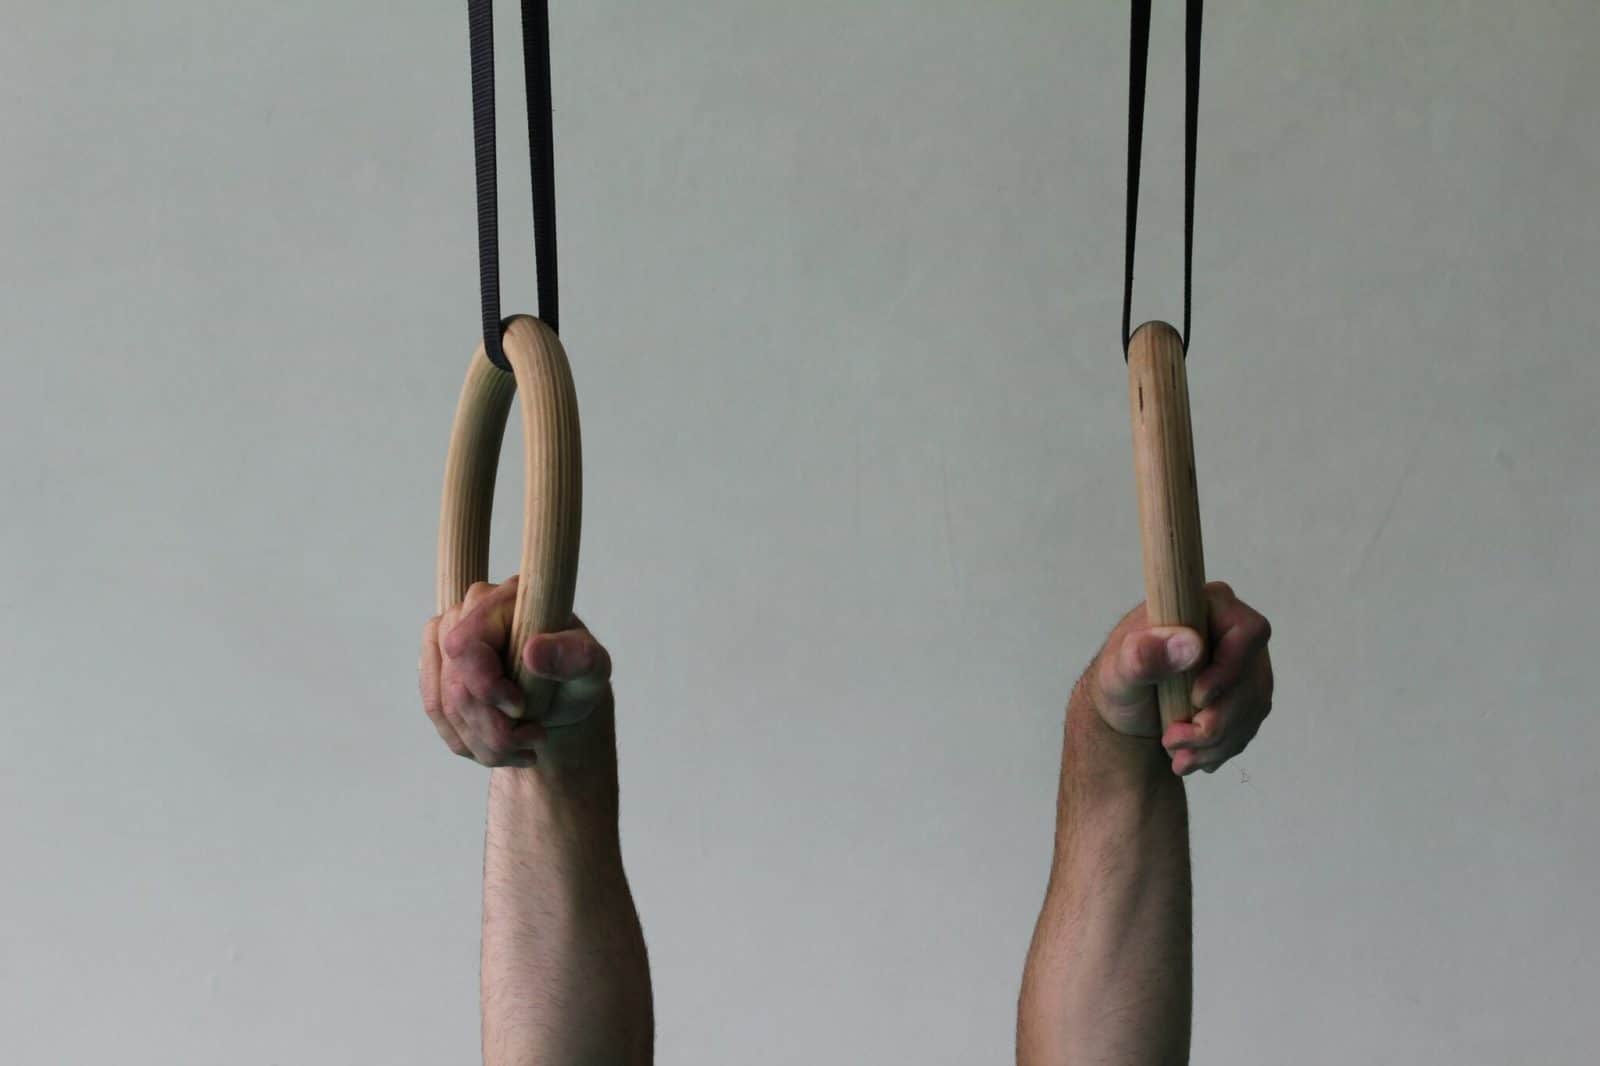
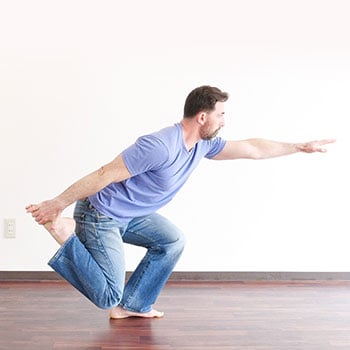
Training with rings is an incredibly effective method for building upper body and core strength.
The instability of the rings makes every exercise much more difficult than it would be on a bar. And because of that, working with rings helps many people increase the intensity of their workout in less time than on a stable bar.
But before investing in a set and starting training with gymnastic rings, there are some things to consider – such as where you’ll hang them, how to use them most effectively, and how much space you need.
Follow these tips and your practice will go that much more smoothly once you’re ready to get started.
Get 16 proven strength tutorials. We’ll send you our best methods and progressions for building practical strength, yours free. 👉 Click to get the tutorials.
Space Requirements for Your Rings
One of the biggest concerns people have before starting with the rings is how much space they’ll need. Like most things, it depends on what you would like to achieve and how you’ll use them.
When it comes to figuring out how much height you need for your rings, there’s a distinction between “above the rings” exercises and “below the rings” exercises. I’ll explain below what that means.
Below the Rings Requirements
 In general, most people start here, with exercises that happen primarily below the rings. Some examples of below the rings exercises include:
- Ring Rows
- Reverse Row Sit Back
- Pull-Up
In all of those exercises, the movement is happening with your body beneath the rings.
With below the rings exercises, you won’t need quite as much height as with above the rings exercises. Obviously, the exact height of the rings will differ depending on how tall you are, but generally, you won’t need to hang them higher than about a head taller than yourself for below the rings exercises.
Above the Rings Requirements
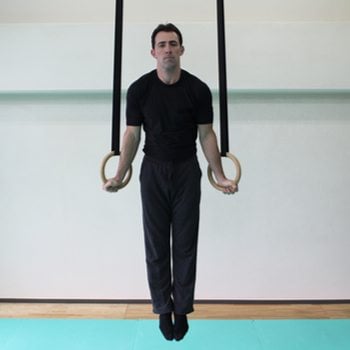
Above the rings work tends to be a bit more advanced than below the rings work, but there are some that you can perform right away.
Here are some examples of above the rings exercises:
- Inverted Hang
- Top Position Hold
- Tuck to Tuck Shoulder Stand
The height you need for the rings in above the rings work is going to be quite a bit more than with below the rings work, simply because you need to make sure you have room for your body to maneuver around the rings.
For instance, in the Top Position Hold, you want to have enough height so that you don’t hit your head at the top of the hold.
And in the Inverted Hang, where your body is completely inverted, you want to make sure you’ll have enough room so that your feet don’t hit the ceiling.
Basic Space Recommendations
The exact measurements will be different for every person depending on height, but the space measurements that work for most people are as follows:
- Giving yourself about 2.75-3.75 meters (~9-12 feet) of height will work for most everyone. You can go a little lower if you’re just working on below the rings exercises, a bit higher if you are working on full inversions.
- About 1.5 meters (~5 feet) of width around you is best. You’ll want to hang the actual rings at shoulder width or a little wider
With the above recommendations, you see you don’t need a lot of space for your rings setup, regardless of how you are using them. Just make sure you have enough space for your needs and you’ll do just fine.
Where and How to Hang Your Rings
Now to address the most common question about using rings:
“Where can I hang my rings?
This is probably the top concern we hear from clients thinking about starting rings training. If you don’t happen to have access to a gym with a sweet rings setup (and most of us don’t), it can be a little daunting trying to find a good spot to hang your rings.
Here are some guidelines that will help you find the right spot.
Tip #1 – Look Around You
We’ve already established you don’t need a ton of space for your rings, so chances are you’ve got something within reach that you can use to hang your rings.
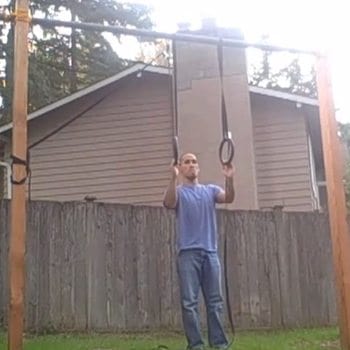
This frame is sturdy and putting it together can be a fun Sunday activity.
Here are some ideas:
- If you have a garage with sturdy rafters, you can hang your rings from there. You’ll generally have enough height and space in a garage that this will work well.
- Do you have a high ceiling in your home that you wouldn’t mind drilling a couple holes into? If so, you can use heavy duty eye bolts, TRX mounts, or other similar hardware meant to support heavy weights. And this is key – whatever hardware you choose should be rated for well above your weight for safety.
- Another option that has worked well for many of our clients is finding a local park with a pull-up bar or even monkey bars. Those tend to be quite solid, and the height will work well for most rings exercises.
- If you already have a gym membership, it’s worth taking a look around your gym to see what setup options you may have available. If nothing else, there’s probably a standard pull-up stand you can use, but there may be other structures in the gym that would work as well. Just make sure hanging up your rings in the gym doesn’t go against any gym policies or anything 😉
- For the DIY-inclined, building your own rings frame is a good option if you have the yard space. Here’s a description of how Jarlo built a rings frame a few years back.
- And of course, one of the simplest options is finding a strong tree branch to toss your rings over.
Those are just a few suggestions, but you may find other options that work for you and with what you have available. Keep an eye out as you walk around your house or your neighborhood, and a good option is likely to reveal itself.
Tip #2 – Make Sure Your Setup is Safe and Secure
No matter where you choose to hang your rings, the most important thing is that your setup is secure and can handle your bodyweight.
You’ll notice in the list of suggestions above, we don’t mention using a door pull-up bar. It is possible and many people do this. But this tends not to be as sturdy as we’d like for safety. And safety should be your number one concern.
When you’re working with rings, it’s even more important that the structure they hang from is strong and stable. Unlike with a straight bar, where the only moving piece is your body, when working with rings, your body and the rings are moving. The more moving parts there are, the more things could potentially go wrong. We want to try to reduce that chance of mishap as much as possible.

There are, however, some door pull-up bars that are tightly screwed into place, so that they are semi-permanent structures. That would be perfectly fine for most below the rings work.
The same concept holds true with anywhere you might hang your rings. Don’t just throw your rings over any random tree branch. Find a thick, sturdy branch that feels secure when you test it with your bodyweight. You don’t want to hear any creaking in the branches when you hop up on your rings!
Tip #3 – Set Yourself Up for Success

Some people are fine with training in the snow. Most people, though, would do better to find another option.
There are pros and cons to every setup, but the best recommendation we can make is to be honest with yourself and choose a setup that will help you use the rings the way you want to.
- If you live in the Midwest and it’s January, choosing an outdoor setup of any kind is unlikely to pan out so well.
- If you have little kids running around, setting up your rings inside the house may not work for you.
- If you’re not particularly handy, deciding to build yourself a rings frame probably isn’t a good bet.
We obviously can’t cover every possible scenario in this article, and only you know the obstacles any given setup might present for you.
Don’t get hung up on a perfect setup or place to hang your rings. Choose a place that will make your path to success as easy as possible, and you’ll see tremendous benefit from working with this versatile tool.
Gymnastic Rings Options
Okay, you’ve found a place to hang your rings that will give you enough height to do what you want. You’ve made sure you will be able to hang them securely.
Now what about the actual rings?
There are a bunch of options for gymnastic rings on the market. A simple search on Amazon will turn up a couple hundred options ranging from plastic to metal to wooden, and with a pretty wide range in pricing. Here’s a short rundown of the pros and cons of each, and what we recommend.
Plastic Rings

Plastic rings do the trick for many people.
This is the cheapest and most widely available option. However, their light weight can feel less supportive in some exercises and are less comfortable on your hands and wrists than wood.
Still, starting out with a plastic pair is perfectly fine, but you may need to upgrade to a sturdier option when you move into more advanced rings work down the line.
PVC Rings (DIY Option)
You can’t buy PVC rings online, as far as I know, but you can make them if you’re into that sort of thing. Here are some detailed instructions for how to do so:
Wooden Rings (Our #1 Recommendation)

These are our favorites 🙂
For reasons we discuss in this episode of the GMB Fitness Skills Show, our favorite option is wooden rings.
They tend to be the most expensive option, but they’re by far the best way to go in terms of comfort and durability. Here are some of the options for wooden rings on the market:
- Rogue Wooden Rings – Ryan says these are the most comfortable rings he’s ever owned.
- Wolverson Gymnastic Rings – These are a good option if you are located in the U.K., since the shipping rates tend to make Rogue rings cost-prohibitive.
Whatever material and brand you choose for your rings, just make sure the straps are adjustable and long enough to accommodate your space and setup.
Start Training with the Rings
After you’ve found a place to hang your rings and have bought the pair of gymnastic rings that will work for your needs and budget, the obvious next step is to start using them.
Training with rings is a humbling experience for most people, especially those who’ve been training for a while. But the challenges you’ll face early on in training with the rings will pay off big time. They will make you strong in ways that straight bar work simply can’t.
Build Full-Body Strength the Smart Way
Integral Strength will help you build the kind of strength that carries over into demanding physical skills and dynamic sports.
