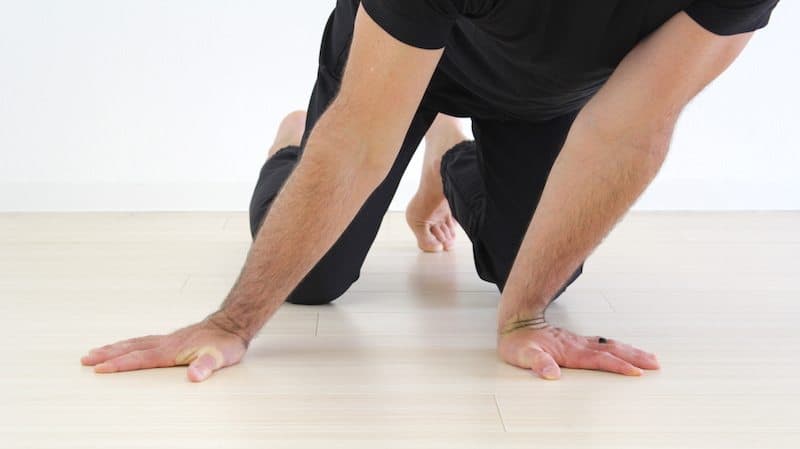
You don’t need to “protect” your wrists, you need to prepare them.
Whether you’re cranking out push-ups, climbing, grappling, or just wrestling around with your kids on the floor, your wrists help you get things done.
But most of us never train them until something hurts.
Luckily, with just a few minutes of smart, focused prep, you can build wrists that feel resilient, adaptable, and ready for anything.
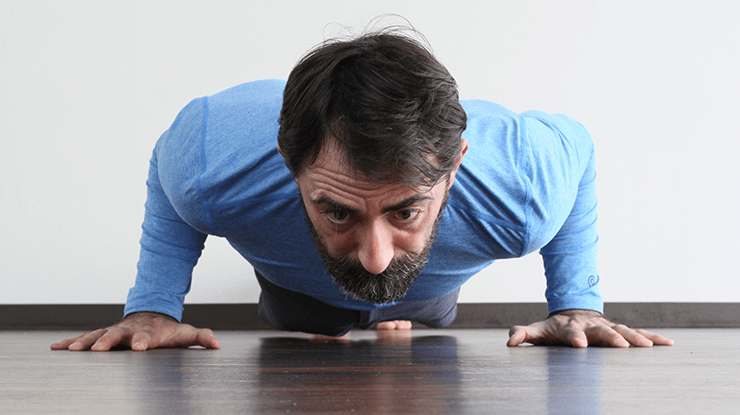
Why Wrist Training Is Key To Better Movement
- We use our wrists for everything
- Typing, lifting, gripping, training – weak, stiff wrists make daily life harder.
- A strong upper body depends on them
- Push-ups, planks, dips—all rely on your wrists to support your weight.
- We don’t prepare them well
- We use them nearly every waking minute — but rarely in ways that make them more durable.
Modern life can be brutal on your wrists, and not just in the way you think.
You’re typing, gripping, scrolling, swiping all day with your hands and wrists. But you’re not actually loading your wrists in meaningful ways.
Most adults spend years (even decades) without bearing weight through their hands. Then they wonder why things feel stiff, weak, or achy when they take on house projects, help a friend move, or start doing more pull-ups or push-ups to get fit.
We know you’re not looking to become a circus performer or a world’s strongest man competitor. But solid wrist mobility and strength help you reclaim fundamental, useful function — so you can tackle the activities you love without hesitation or injury.
The right kind of preparation makes all the difference.
Injured or Just Hurt?
Many people with wrist trouble think they have only two options: wait it out or see a professional (and yes — you should see a professional if your problem doesn’t improve or gets worse.)
But there’s a third option most folks miss: train your wrists yourself with just a few minutes of smart, focused training each day.
I’ve used these exercises successfully with hundreds of physical therapy patients over the years. And a client of ours, a sports orthopedic surgeon, let us know that he’s been using them with his patients, too:
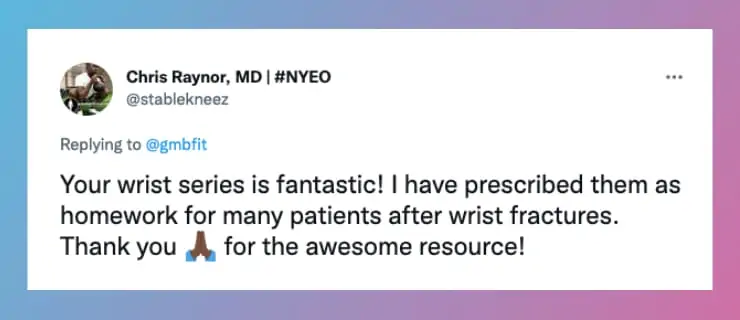
And now we’ve updated the routine to include even more variable and active loading to get you moving better. But before we dive in, let’s take a quick look at why these exercises work so well.
A Very Brief Overview of Wrist Mechanics
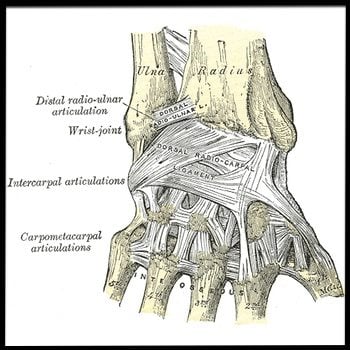 Your wrist is a complex little beast with: ten bones, multiple ligaments, and a web of muscles working together to handle load and create movement.
- The radius and ulna (forearm bones) connect to eight small carpal bones.
- Connective tissue hold it all stable — but they need progressive loading to get stronger, not just stretching.
- Forearm muscles control wrist flexion, extension, and side-to-side movement. (Rotation – supination/pronation – actually comes from the elbow, not the wrist)
Most people never fully train this system, leaving their wrists stiff, weak, and prone to injury.
But a few minutes a day of smart, patient work can massively improve the resilience and strength of your wrists and forearms, without needing fancy tools or hours in the gym.
Your Go-To Wrist Exercises For More Strength And Stability
The Quick Routine
| Exercises | |
|---|---|
| 1. Wrist Shakes | • Simply shake your wrists out for 10-15 seconds (like a Polaroid picture just as Andre 3000 so eloquently said in Hey Ya). |
| 2. Forward Facing Wrist Pulses | • Start with your hands flat on the floor in front of you with fingers facing forward. • Make sure your elbow pits are facing forward and pulse forward for 5 reps, holding for 10 to 20 seconds on the 5th rep. |
| 3. Wrist Side to Sides | • Have your fingers facing towards the sides as you lay your palms flat. • Rock side to side. • Up to 20 repetitions. |
| 4. Backward Facing Wrist (Palms Down) Pulses | • Place your hands out in front of you, rotating your wrists around so that your fingers are facing your knees. • Start with your fingers closer to your knees (this is easier than further away). • Keeping your palms flat on the ground, shift your body back toward your heels, then forward toward your hands. • Make sure your elbow pits are facing forward and pulse forward for 5 reps, holding for 10 to 20 seconds on the 5th rep. |
| 5. Rear Facing (Palms Up) Pulses | • Start with the back of your hands on the floor, fingers pointing toward your knees. • Make sure your elbow pits are facing forward and pulse forward for 5 reps, holding for 10 to 20 seconds on the 5th rep. |
The Full Routine
| Exercises | |
|---|---|
| 1. Wrist Shakes | • Simply shake your wrists out for 10-15 seconds (like a Polaroid picture just as Andre 3000 so eloquently said in Hey Ya). |
| 2. Wrist Circles | • Bring your hands up with your elbows close to your body, making fists. • Rotate your wrists in a circular motion. • Try to keep your palms facing downward to maximize range of motion. • 5 to 10 reps each direction. |
| 3. Close/Open | • Quite simple, make a fist and open! • Squeeze hard and relax fully. • 10 repetitions. |
| 4. Elbow Rotations | • Palms facing forward, rotate your elbows in and out • Work on keeping your hands flat, and rolling your elbow pits forward. • 5 to 20 repetitions. |
| 5. Finger Slides | • Palms flat on the ground, pinch your fingers and thumb together while sliding on the ground. • Open them up, again sliding to use the friction as a light resistance. • 5 to 20 repetitions. |
| 6. Finger Pulses | • Put your hands flat on the ground, splaying your fingers as wide as you can. • Pull your palms off the ground, keeping the top part of your hand and your fingers pressed into the ground. • 5 to 20 repetitions. |
| 7. Palm Heel Up Side to Sides | • Make sure your hands are flat on the ground with fingers spread out. • Lift the heel of your hands up off the ground. Then push your hands into the ground while focusing on the knuckles, and go side to side. • If this position is tough, bring your hands closer to your body. 5 to 20 repetitions |
| 8. Wrist Side to Sides | • Have your fingers facing towards the sides as you lay your palms flat. • Rock side to side. • Up to 20 repetitions. |
| 9. Backward Facing Wrist (Palms Down) Pulses | • Place your hands out in front of you, rotating your wrists around so that your fingers are facing your knees. • Start with your fingers closer to your knees (this is easier than further away). • Keeping your palms flat on the ground, shift your body back toward your heels, then forward toward your hands. • Make sure your elbow pits are facing forward and pulse forward for 5 reps, holding for 10 to 20 seconds on the 5th rep. |
| 10. Rear Facing (Palms Up) Pulses | • Start with the back of your hands on the floor, fingers pointing toward your knees. • Make sure your elbow pits are facing forward and pulse forward for 5 reps, holding for 10 to 20 seconds on the 5th rep. |
| 11. Forward Facing Wrist Pulses | • Start with your hands flat on the floor in front of you with fingers facing forward. • Make sure your elbow pits are facing forward and pulse forward for 5 reps, holding for 10 to 20 seconds on the 5th rep. |
| 12. Plank Circles | • Start on hands and knees with palms flat and fingers facing forward. • Shift your weight to make circles around your hands. • Make it more challenging as needed by increasing the distance between your knees and hands. Eventually going up into the push-up plank position. • 5 repetitions in each direction. |
Bonus Wrist Challenges (For When You’re Ready)
These exercises are not required, they’re here if you want to explore more advanced challenges once you’ve built a solid base.
Weighted Implement Wrist Exercises
Use a relatively heavy stick/club/hammer.
First sets are with the implemented held at the bottom, second sets are with it held at the top.
1. Forward/Backward Wrist Deviations
- Keep your wrist flat and rock the implement forward and backward with a strong grip.
- 5 to 10 repetitions.
2. Side to Side Wrist Deviations
- Keep your wrist flat and rock the implement side to side with a strong grip.
- 5 to 10 repetitions.
3. Wrist Circles
- Again, a strong grip throughout the motion
- 5 to 10 repetitions
Hanging Wrist Exercises
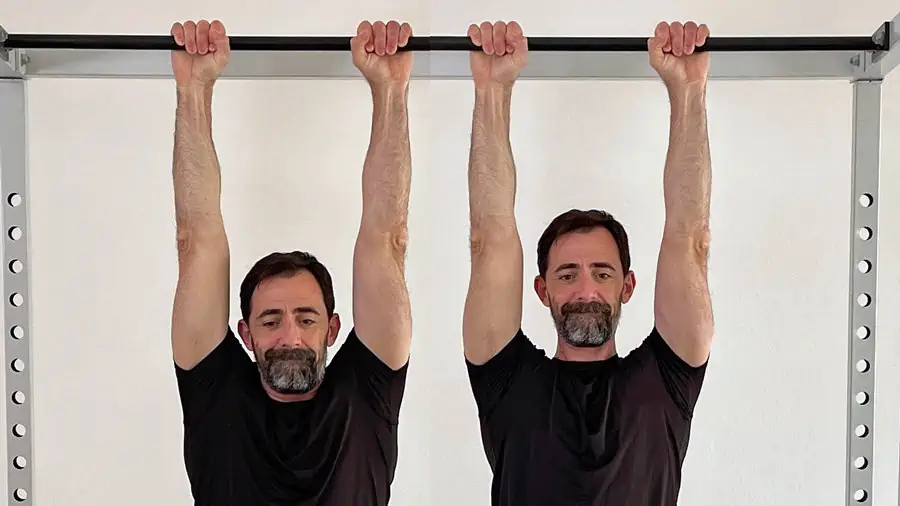
On the left, a relaxed passive hang. On the right, lats engaged for an active hang.
Passive to Active Hang
- Start by hanging onto the bar and relax into the stretch, then gradually pull up and down with straight arms.
- Auto-regulate with this and just do what feels good.
Again, don’t push into any painful positions. If something hurts back off and try and easier version of it. Building strong wrists is a process. But if you practice these moves regularly at your own level you’ll be well on your way to healthy, resilient wrists.
✅ Strong wrists handle more stress and resist injury.
✅ These exercises build the kind of strength that lasts.
Progressive Wrist Training in GMB Programs
As you can see, that’s a very comprehensive wrist routine! It integrates all the motions and positions you need for durable, healthy wrists for everything you want and need to do.
At first glance, it might seem excessive if you’re trying to fit it alongside a full training plan. And it would be, if you just kept piling it on. It’s a mistake to keep adding more and more exercises, for your wrists or any other body part. Your workouts would take all day!
We solve this by integrating wrist work directly into all levels of our programs, so you’re building stronger, more resilient wrists naturally, as part of your regular practice, without extra layers or stress.
The Real Reason Your Wrists Struggle
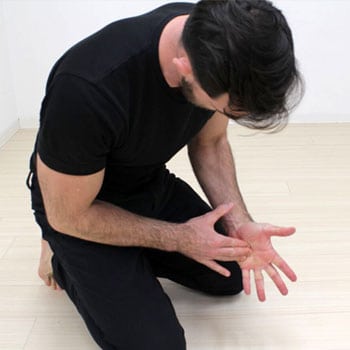 If you’re already experiencing wrist issues, you’re probably wary of doing more with them. It’s a fine balance: do enough to improve, but not so much that you irritate or overload them.
We absolutely understand this.
Here’s the truth: wrists can be the weak link when you’re working on ground-based movement like the locomotion exercises we use in GMB.
And they would be if you just jumped in and tried an hour straight without experience!
That’s exactly why we use smart, progressive wrist prep throughout our daily programming. Instead of overloading you upfront, we gradually strengthen your wrists by combining prep, practice, and play; so over time, they can handle more stress without breaking down.
Wrist Routine FAQ: Your Top Questions Answered
What if these exercises are too uncomfortable for me?
These are feeling pretty good! What more can I do?
How should I add this on to my other training?
There are lots of options for whatever your wrists may need right now so you can make them strong and capable!
How You Build Wrist Strength with GMB
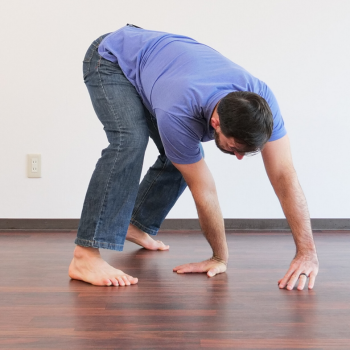 Every GMB program teaches you two key strategies:
- Autoregulation
You’re not pushing to your maximum everyday! You adjust intensity and volume based on how your body performs and feels that day; which is especially important if your wrists are currently sensitive. - Timed Sets With Breaks
We don’t chase arbitrary rep counts. Our sets are time-based, giving you space to rest, recover, and modulate strain. You aren’t expected to, and shouldn’t, push nonstop through the full set. That’s not the point.
In our method, you learn how best to respect your current limits so you can progress over time. You can’t force progress — we can’t repeat that enough.
Set your timer for the duration, and during that time, you rest as needed without pausing the clock. This built-in autoregulation is part of what makes GMB daily programming so sustainable.
This approach lets your wrists adapt gradually, instead of being hammered session after session.
How Every Phase Builds Wrist Resilience
In GMB daily practice, wrist strengthening isn’t an add-on or afterthought, it’s woven into the flow:
• Preparation Phase → Active dynamic loading and movement prep for the wrists before locomotion work.
• Practice Phase → Reinforcing strength and control through drills like Bear, Monkey, and Frogger, applying real-world movement patterns.
• Play and Push Phases → Safely challenging the wrists in more demanding variations, always within a framework of control and exploration.
As you continue through your GMB practice, your wrists don’t just tolerate the workouts, they become resilient!
✅ Bottom Line: You don’t need to tack on endless wrist routines. Our programs guide you to gradually strengthen your wrists as part of your journey, so you can enjoy confident, capable movement at every level.
Get Past Restrictions and Get Back to Doing the Things You Love
Feeling restricted from activities you want to do is a terrible feeling. You want to feel in control of your body, and to be confident that it can handle whatever you need it to do for you.
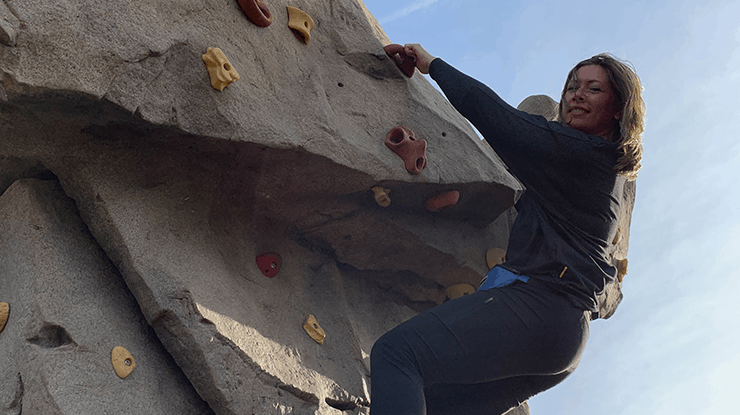
When your body moves without restrictions, you’re free to chase the activities you love.
Whether you want to climb a mountain or just not be worried about hurting yourself as you go on about your day, once you free up those restrictions with consistent, smart practice, you unlock the confidence to explore whatever excites you.
Elbow pain that “shows up out of the blue” usually means that there are stresses and strains they aren’t prepared for. It could be as simple as a new activity that you are overdoing, but it also could be that your shoulders and wrists aren’t taking on their fair share of the load.
Better total-body movement means less stress on the smallest links. That’s why wrist problems often improve in Elements, even without dedicated “wrist-specific” sessions.
Get More Resilient Wrists and Move Better Than Ever
Help your upper body move as a connected system so pressure and strain gets spread out and not dumped into one joint.
